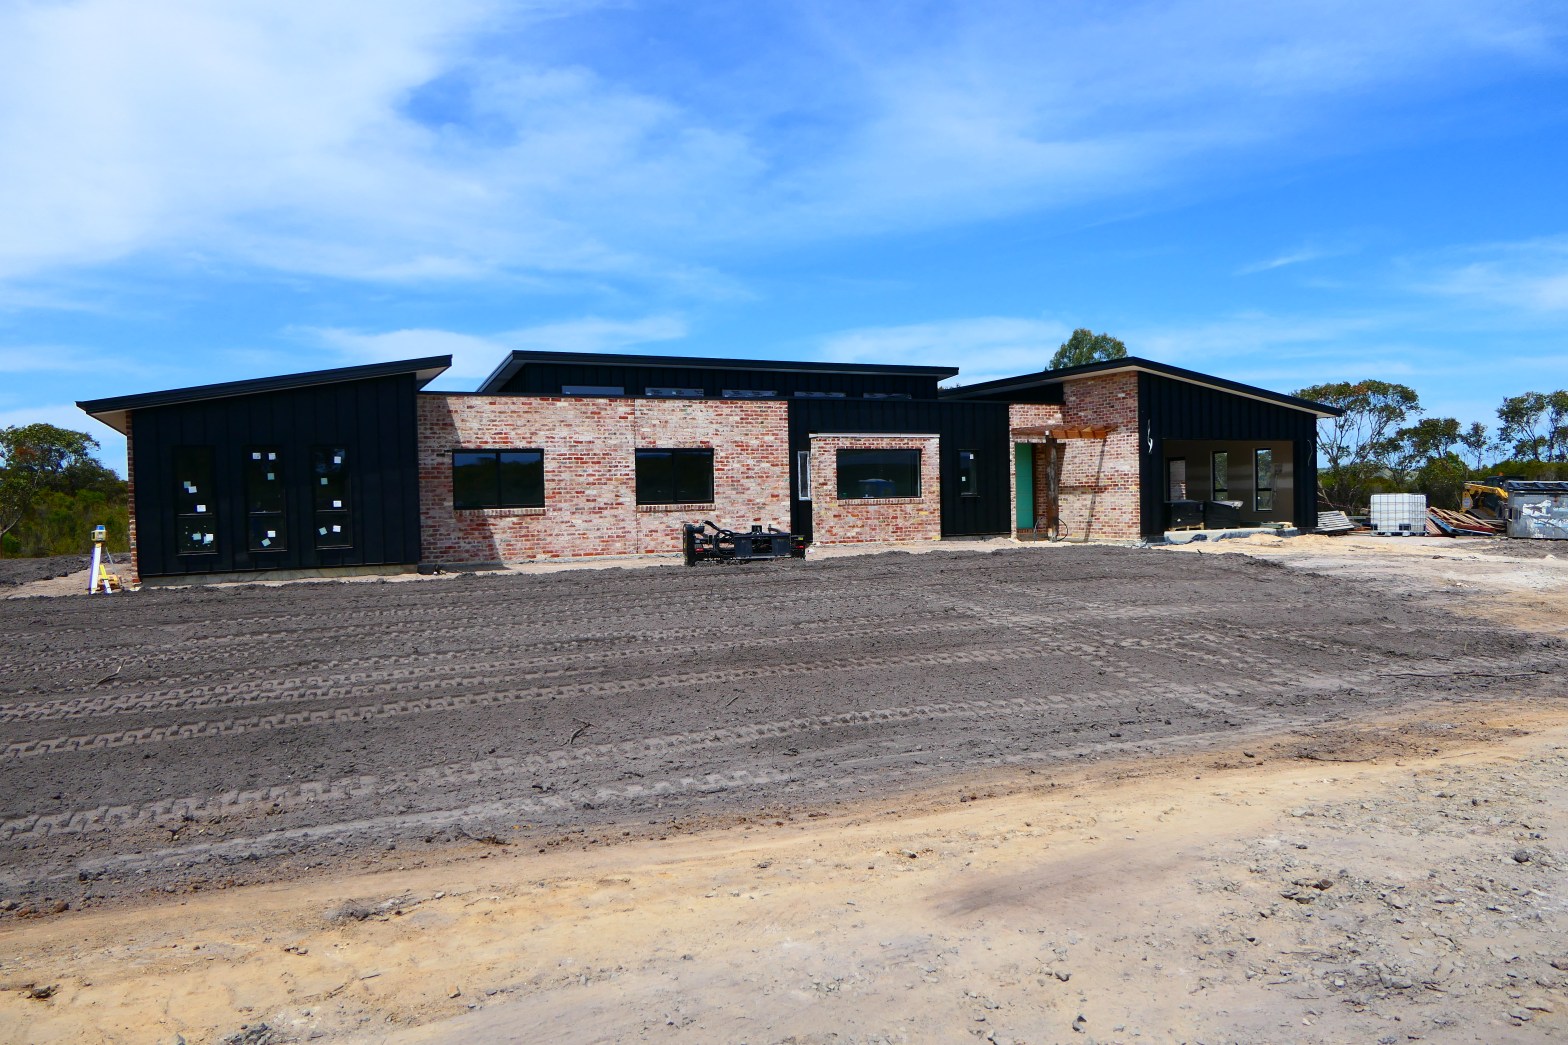
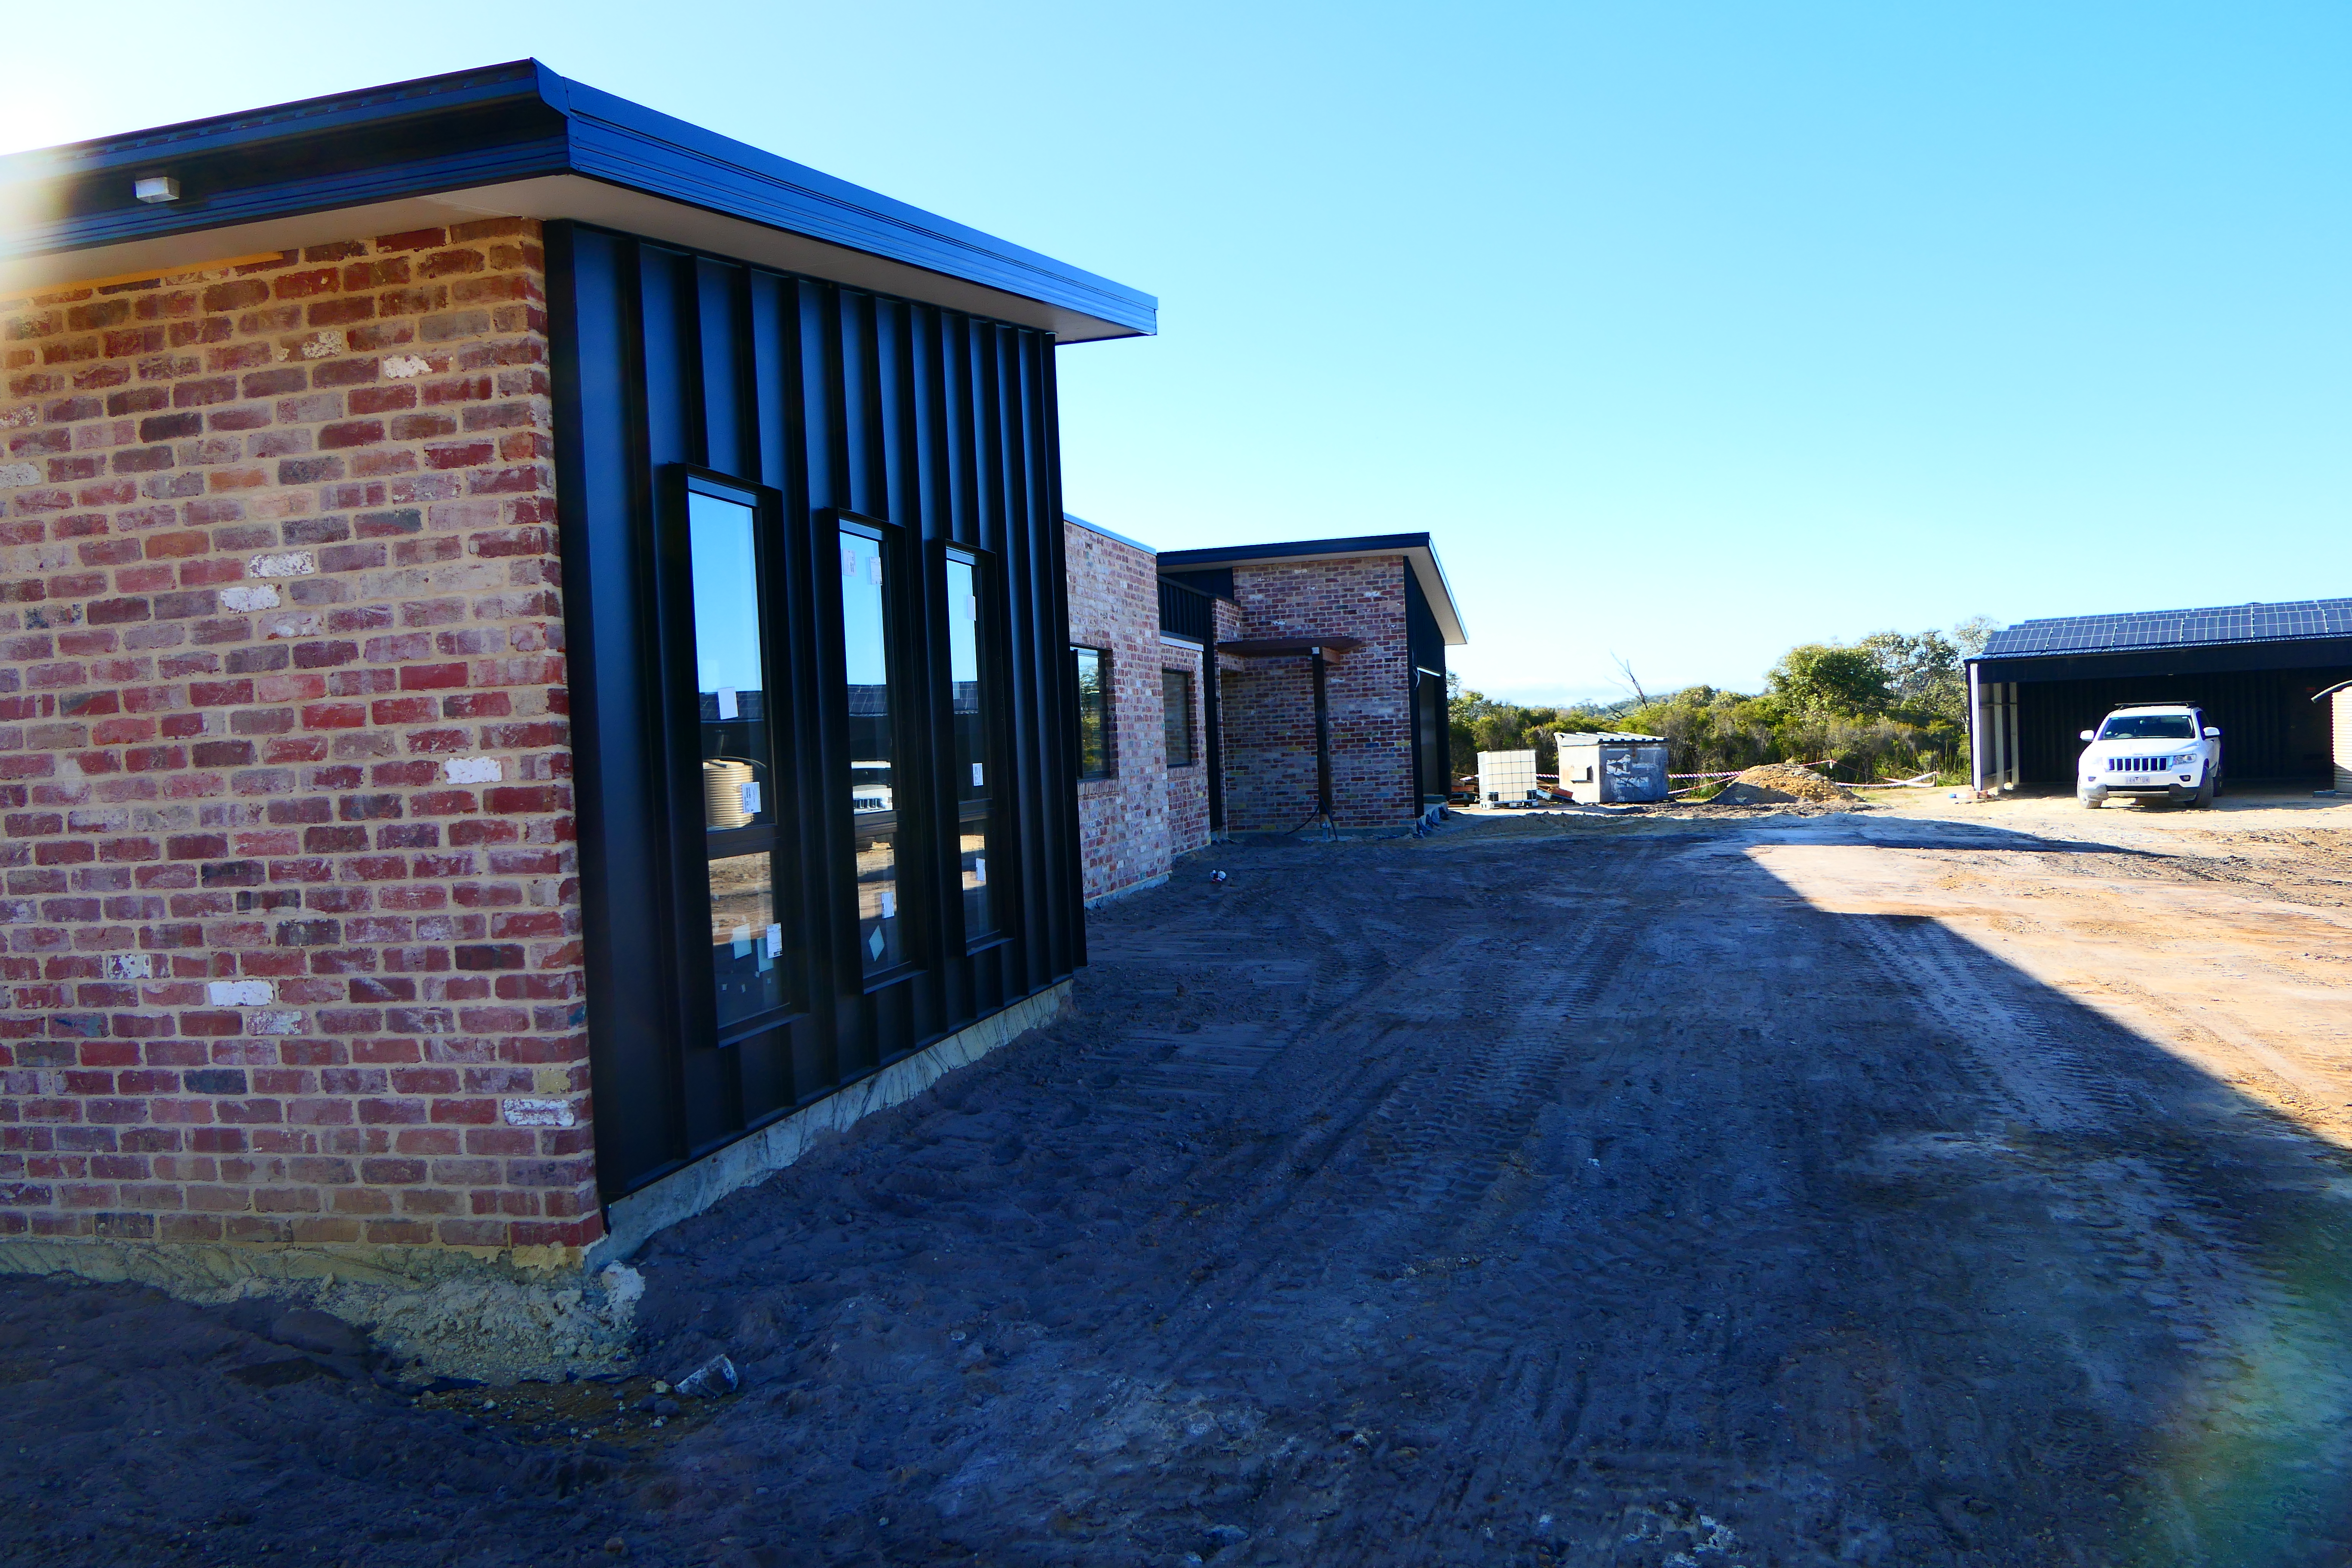
We’re at lock up, although not quite bushfire compliant yet.
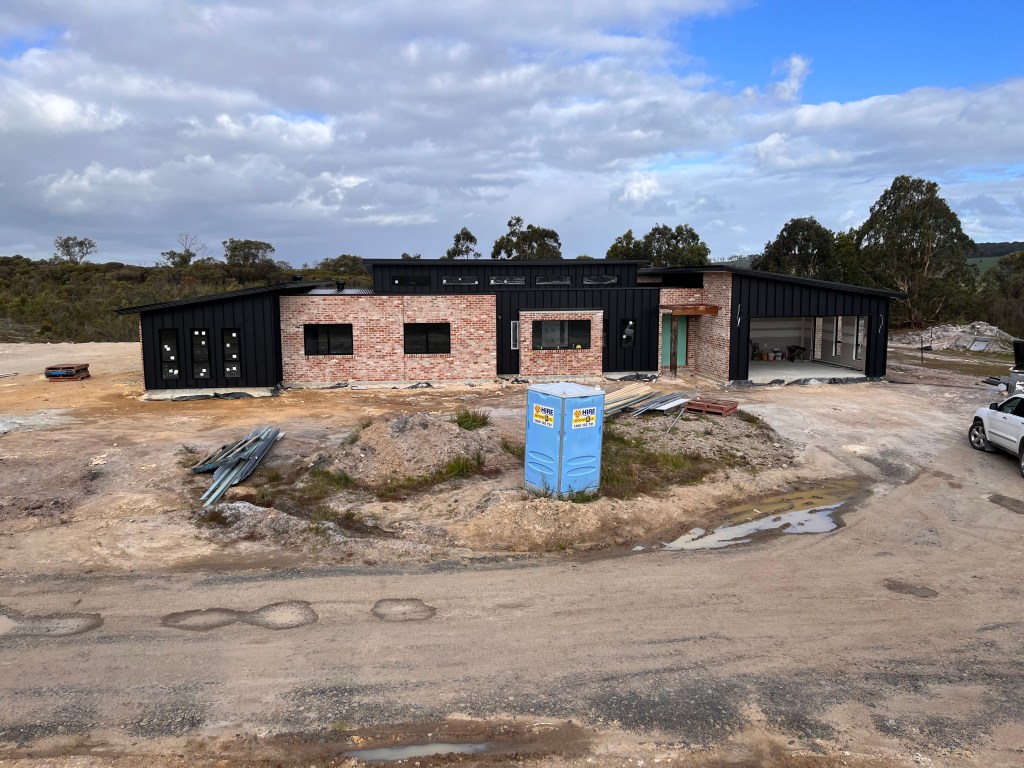
The foam pads have been removed, and the panels have now been installed without the spacer gap at the bottom. It looks fine – perhaps not quite as elegant/refined as the initial installation, but much better than having the perfect set up for ember attack into the house walls. We’ll still need fire proof caulking to block up the small gaps/rough edges, particularly in the gaps in the fins of the steel, but at least we won’t have a ridiculous rubber seal around the house with the bottom being an inch thick. I hope it can be done or we’re really in trouble. The colorbond flashings look fine, although it will be interesting to see how the shiny nightsky colorbond garage door fits in. I wonder if we should have gone for a different finish on it all together. Time will tell.
In hindsight, probably not a good material selection – we went brick and steel to be low maintenance, and highly flame resistant, but didn’t think about the potential gaps and the builder didn’t either. Sigh. Still its solvable, although maintenance of the caulking will likely be required – maybe 20 years life? Anyway, it’s great to finally be weather tight.
The plastering is done
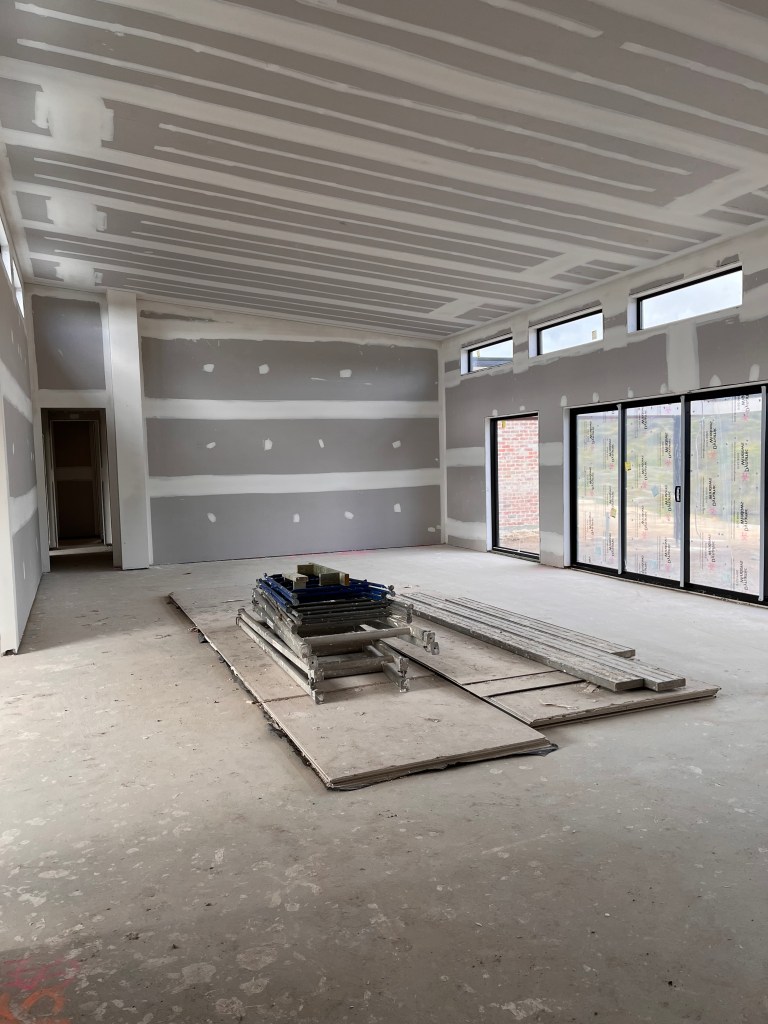
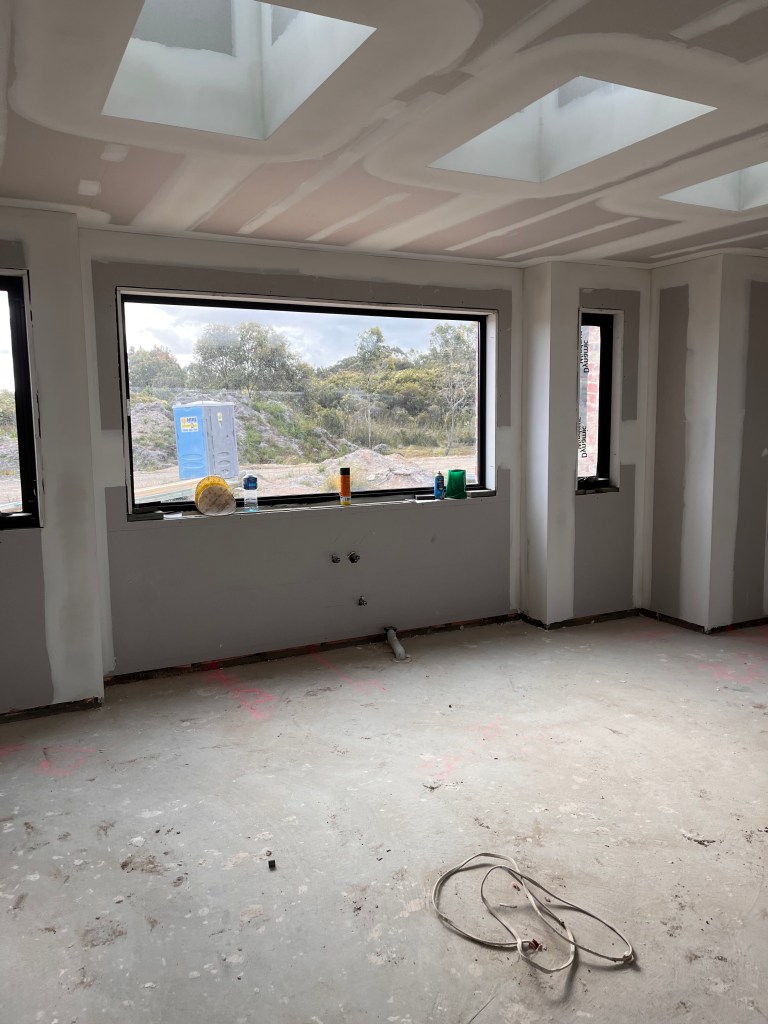
The plastering was mostly done before the roof flashing was complete so some of the plaster and insulation got wet. It’s dried out well, so hopefully no long term issues.
The Solar is in

We’ve put the solar in a little sooner than we needed to – the builder’s say they’ll need it in February – but we wanted to make sure that there was no hold up. It looks great. They did substitute the panels that we “bought” at the beginning of the year – same brand, better warranty, lower capacity and efficiency, but added panels so we ended up with the rated kW. This left a little less space on the shed roof for future additions, but also meant that completely filling the roof coincidentally ended up just within the 33% over inverter capacity for the government rebate and well within the Sunny Boy max power limit. So we went ahead and added another 7! And now have a 16kW array. It didn’t cost much more (around $1500). Can never have too much, right? Still struggle with how to power an electric car (a worry for the future – when will we have local public chargers????), but the extra panels will cover the heat pump hot water system, rather than gas we originally specified.
We’d been told that we weren’t eligible for the Vic Government solar rebate because we were off grid but I found out that wasn’t right. We were eligible for the $1500 additional rebate, but since it needed to be claimed when buying it was too late for us to claim. So the supplier knocked $1000 off the price of the additional panels, and is giving me a couple of panels to run our pump for the vegetable garden as compensation for the poor advice. Make sure you check yourself what rebates you are eligible for! We’re not eligible for the battery rebate as we’re offgrid…
Rebates and programs are changing all the time – well worth checking them out regularly if you’re still in the planning phase.
The earthworks are mostly done

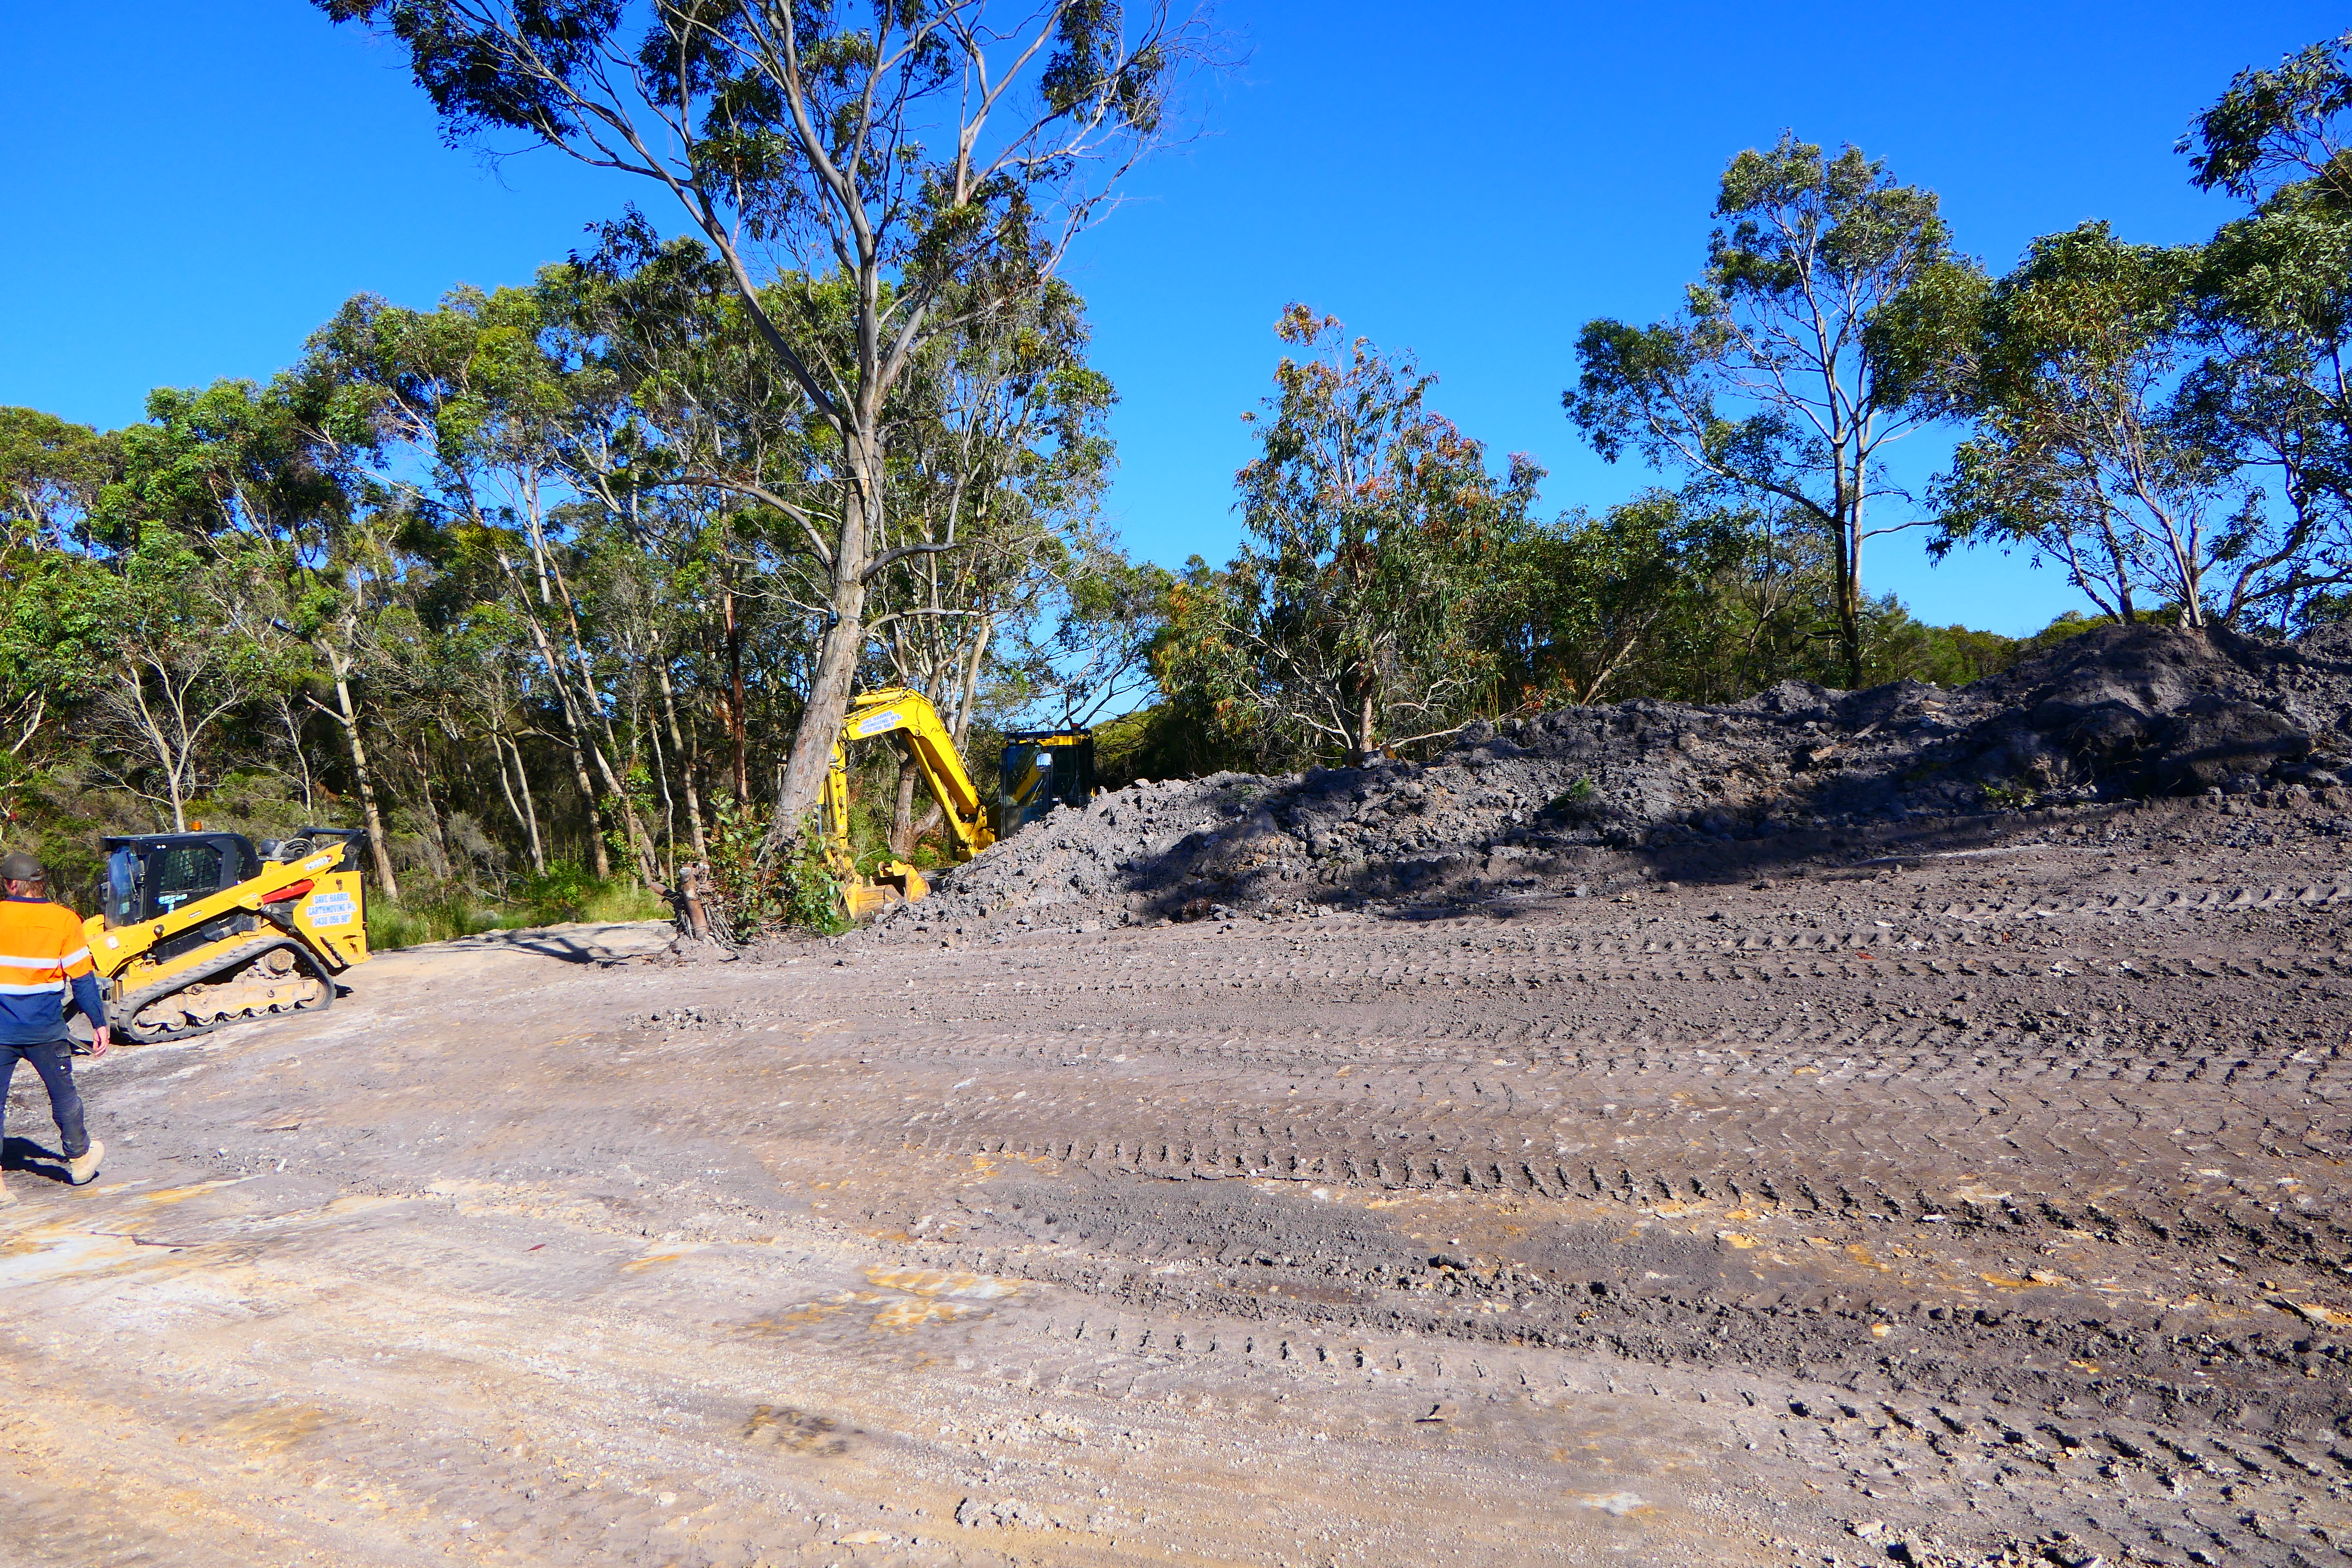
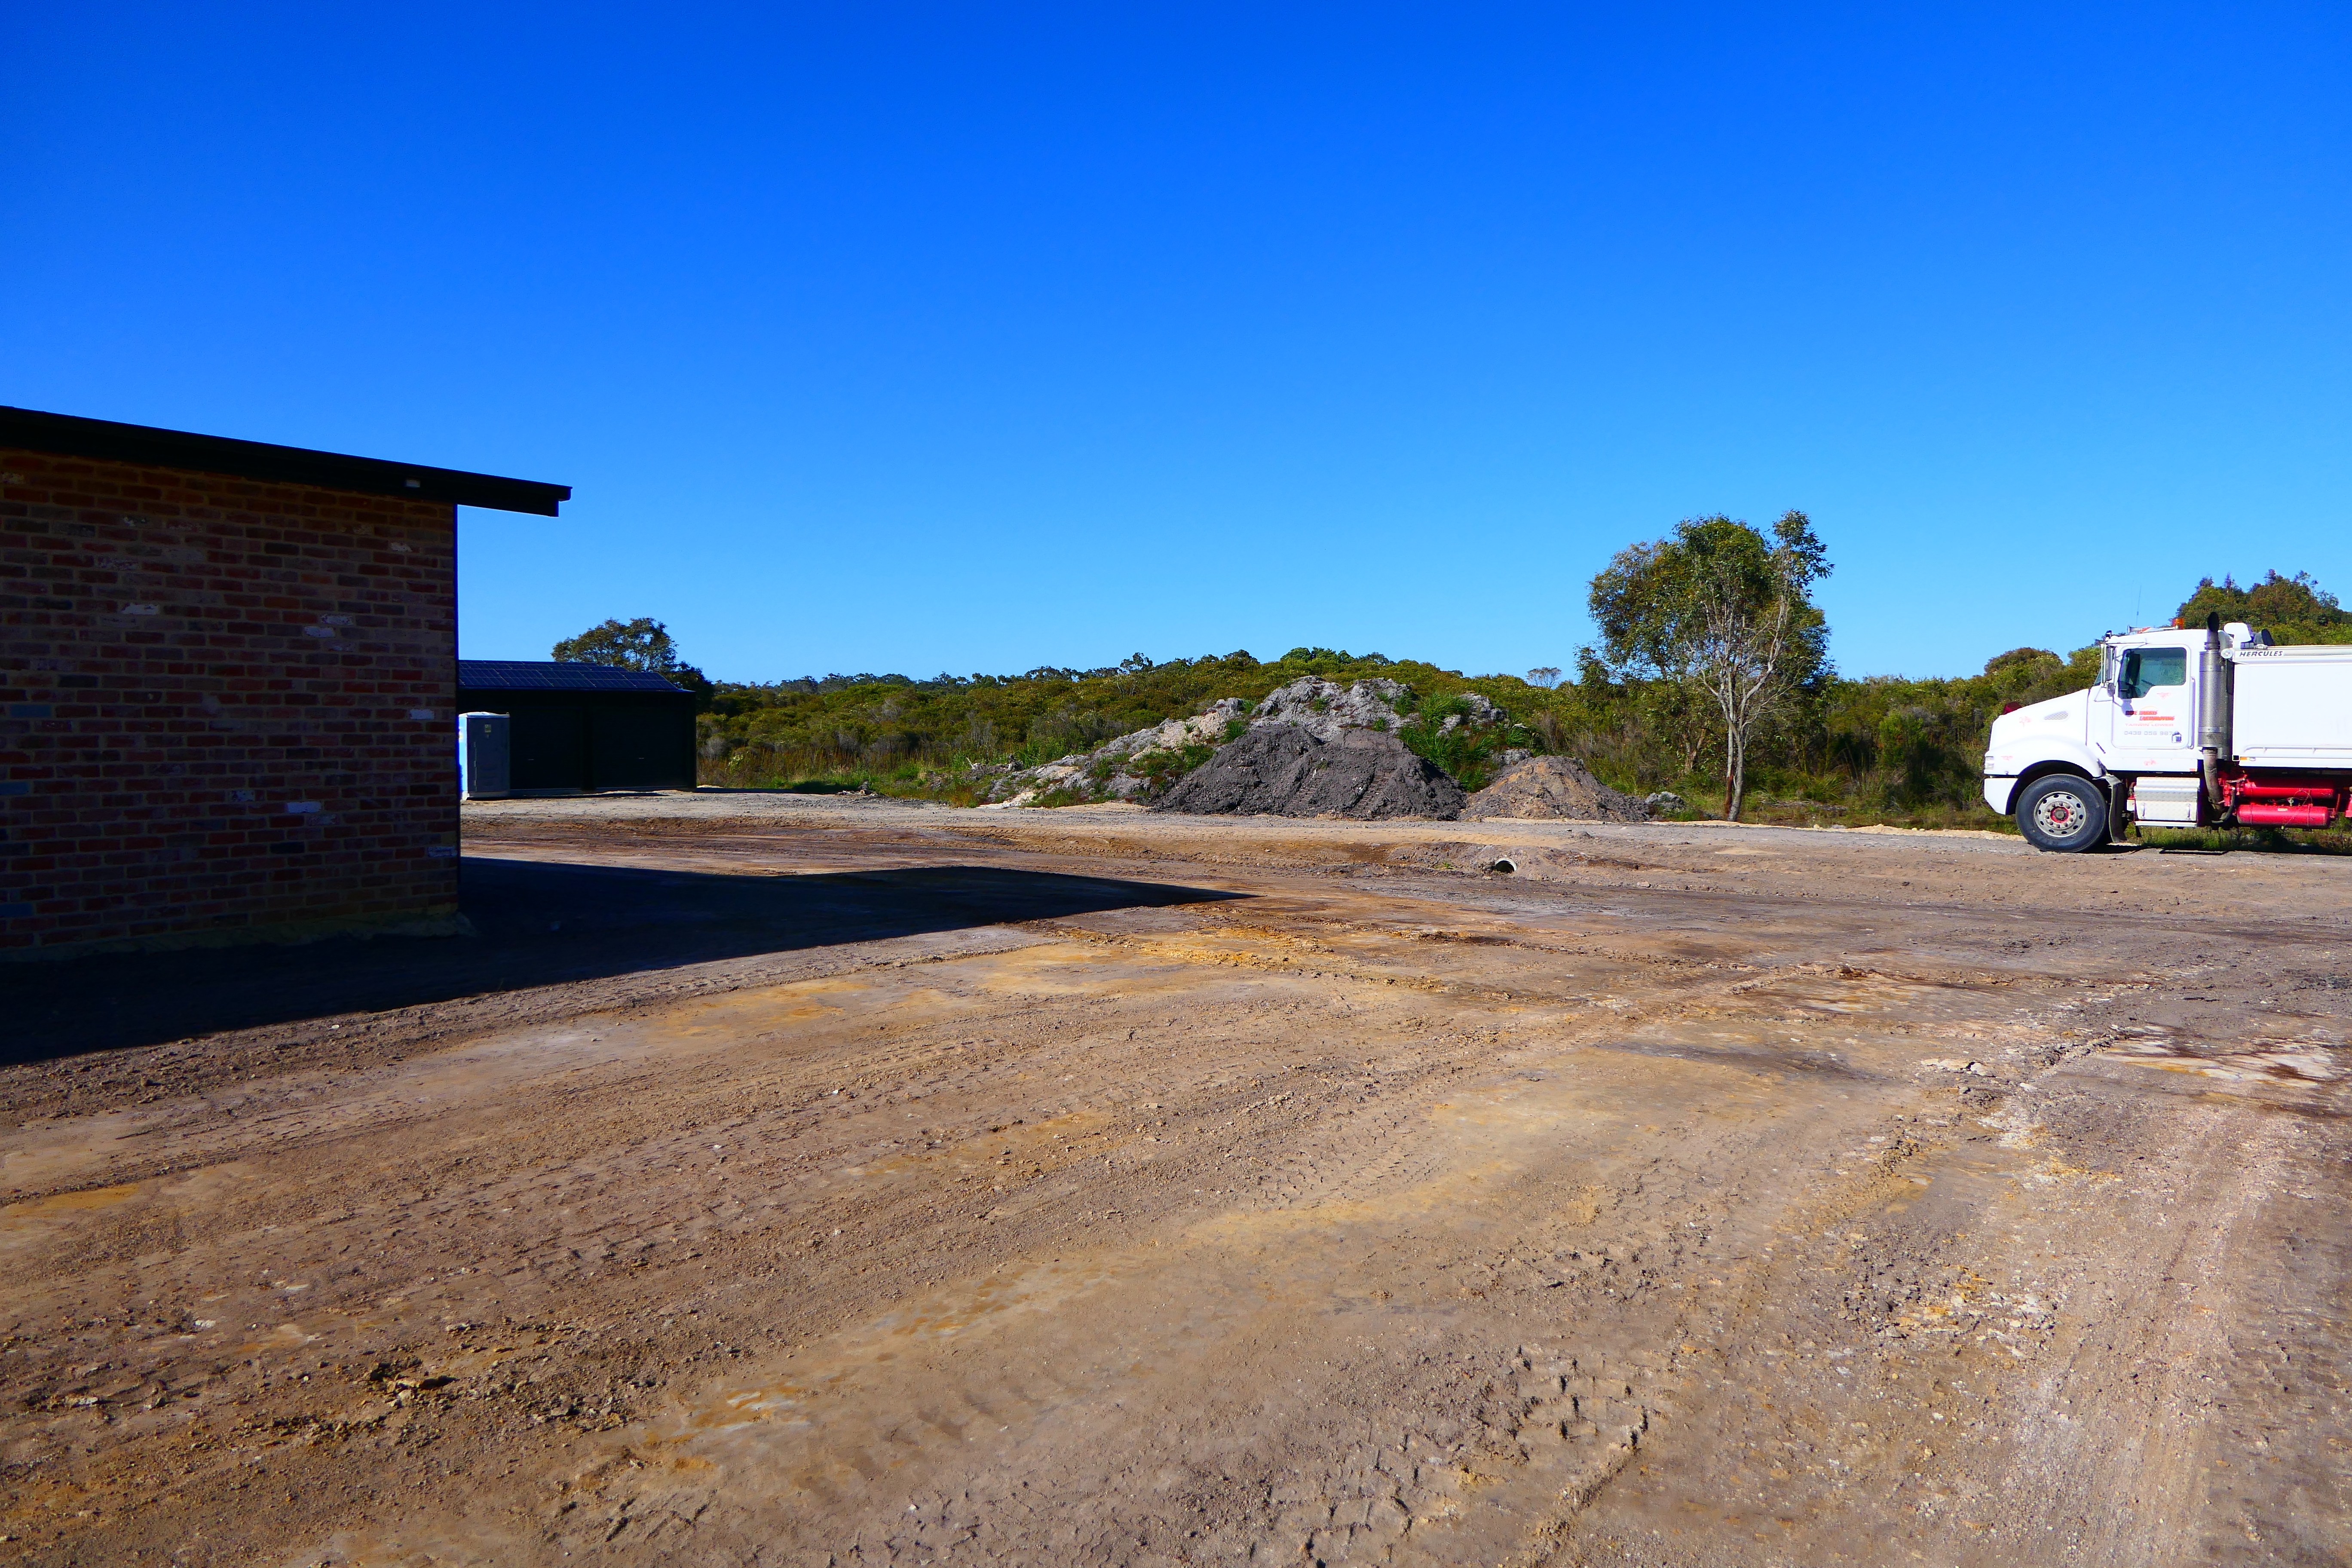
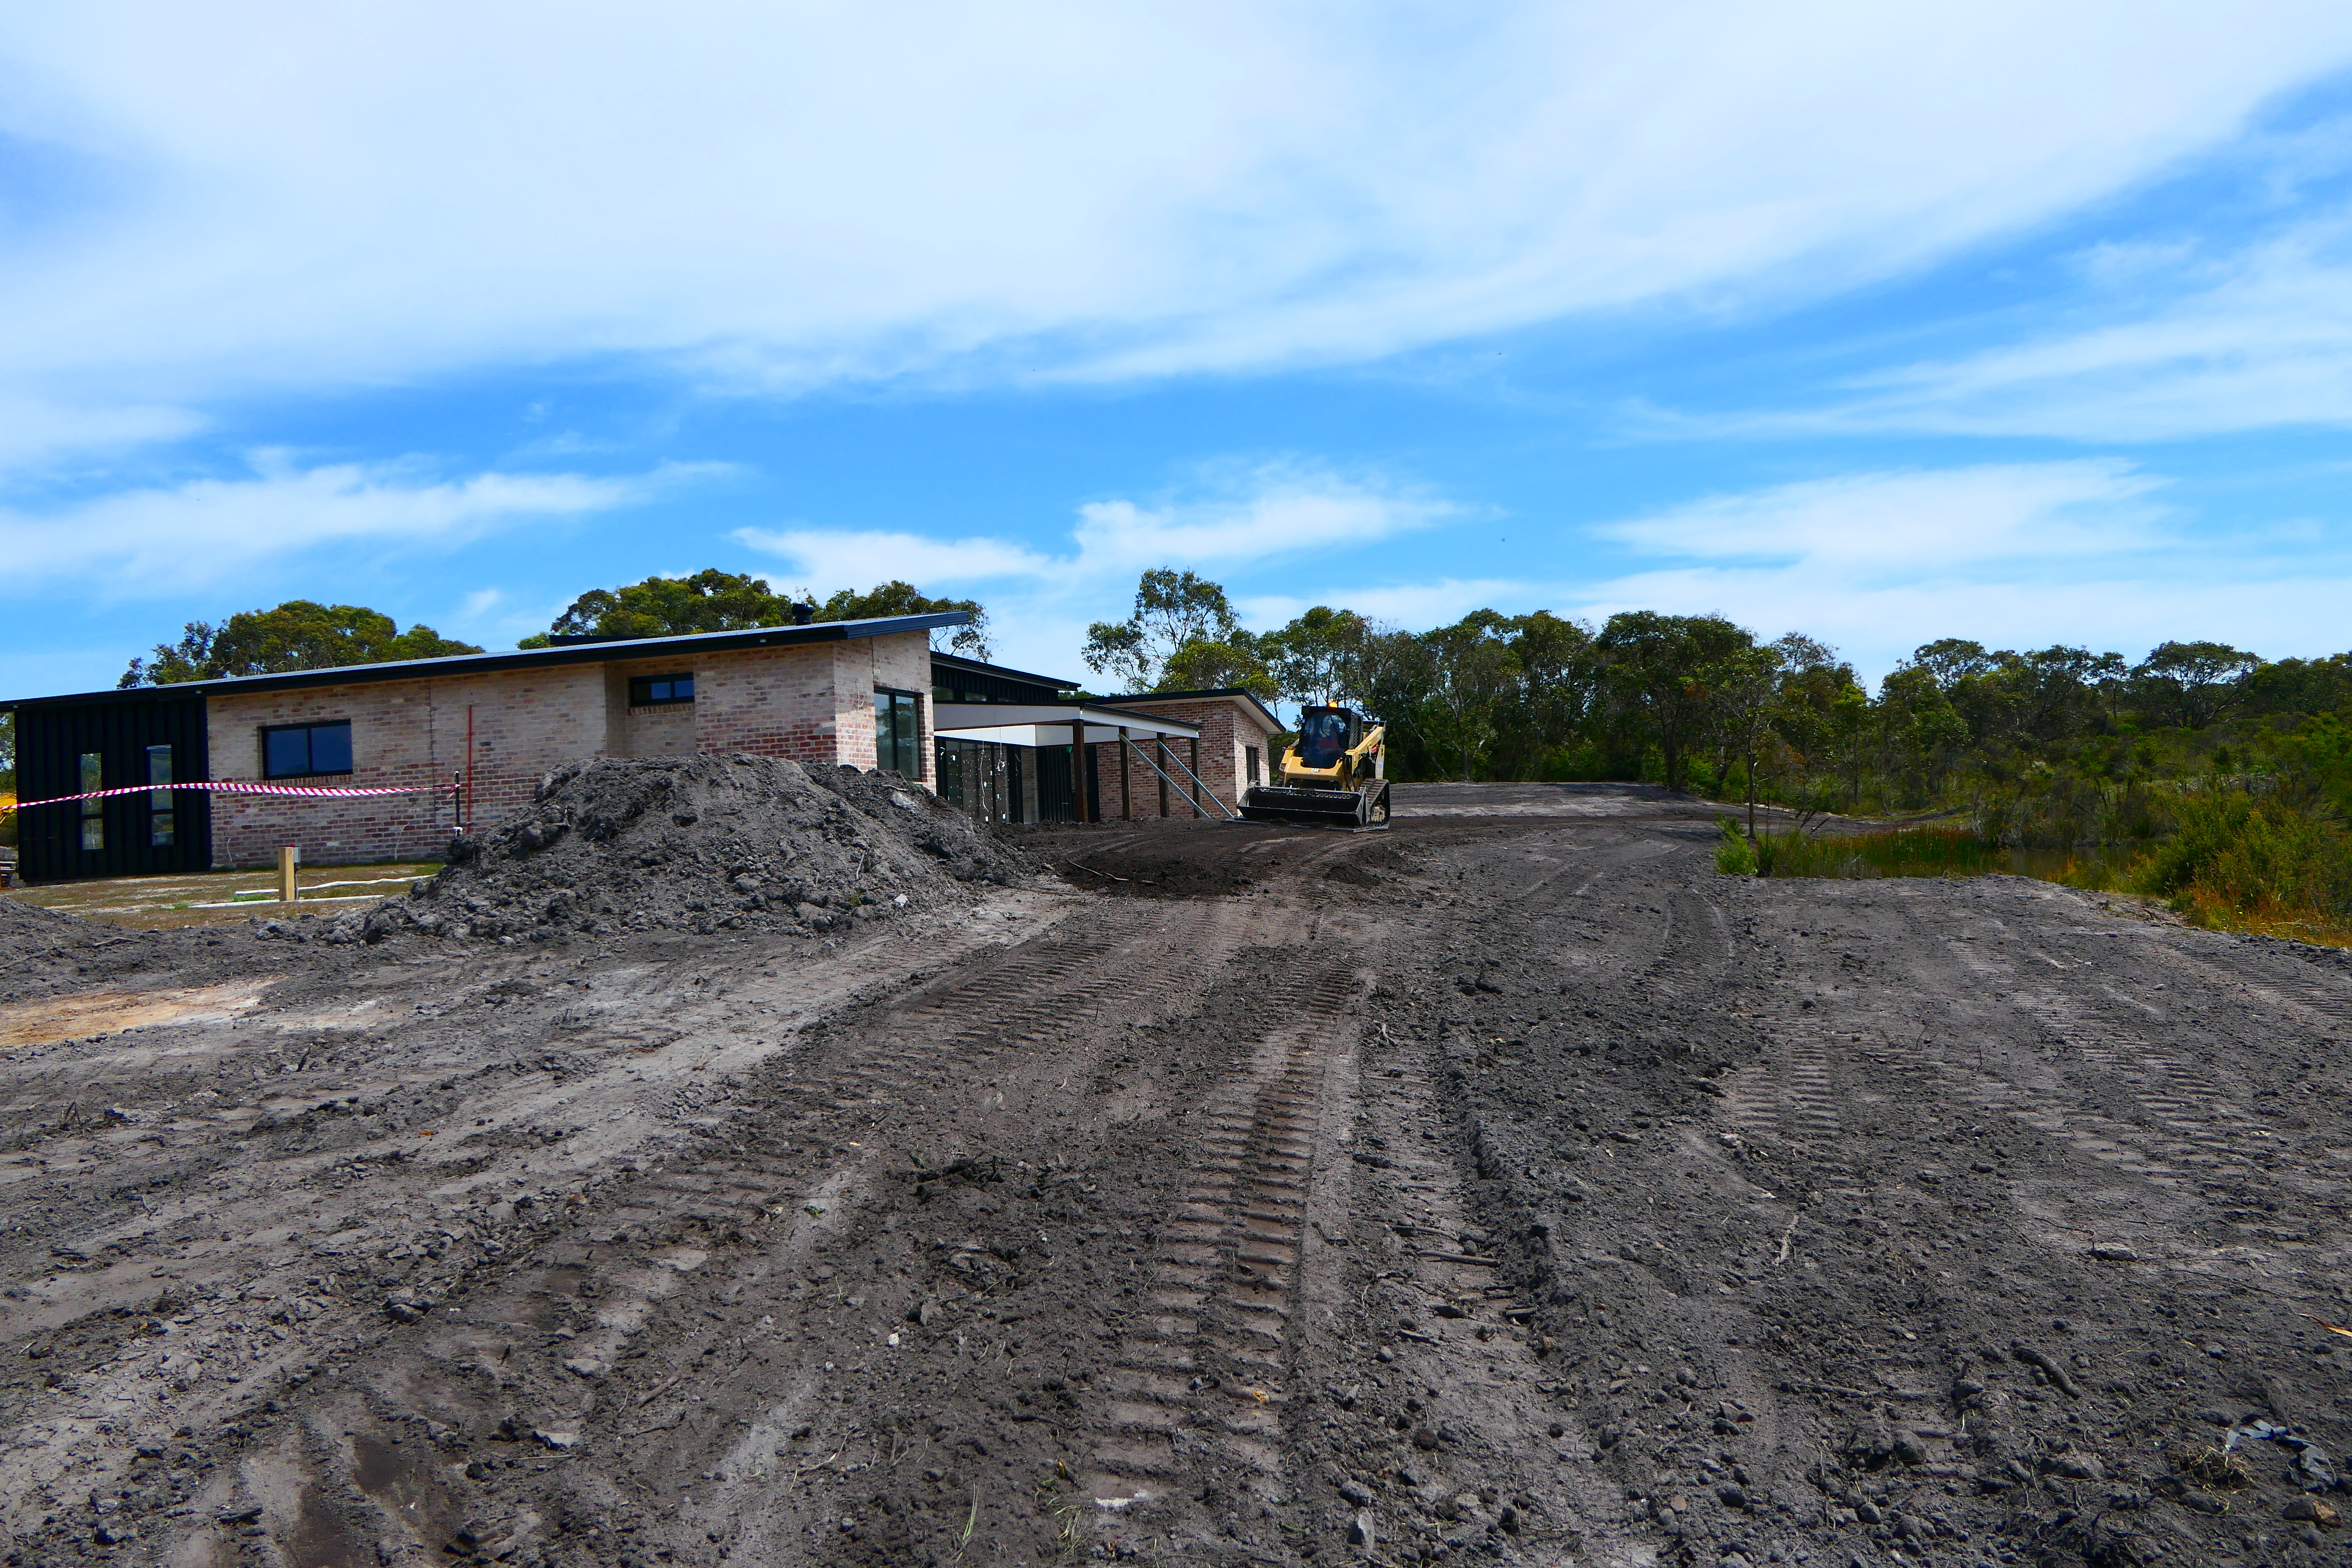
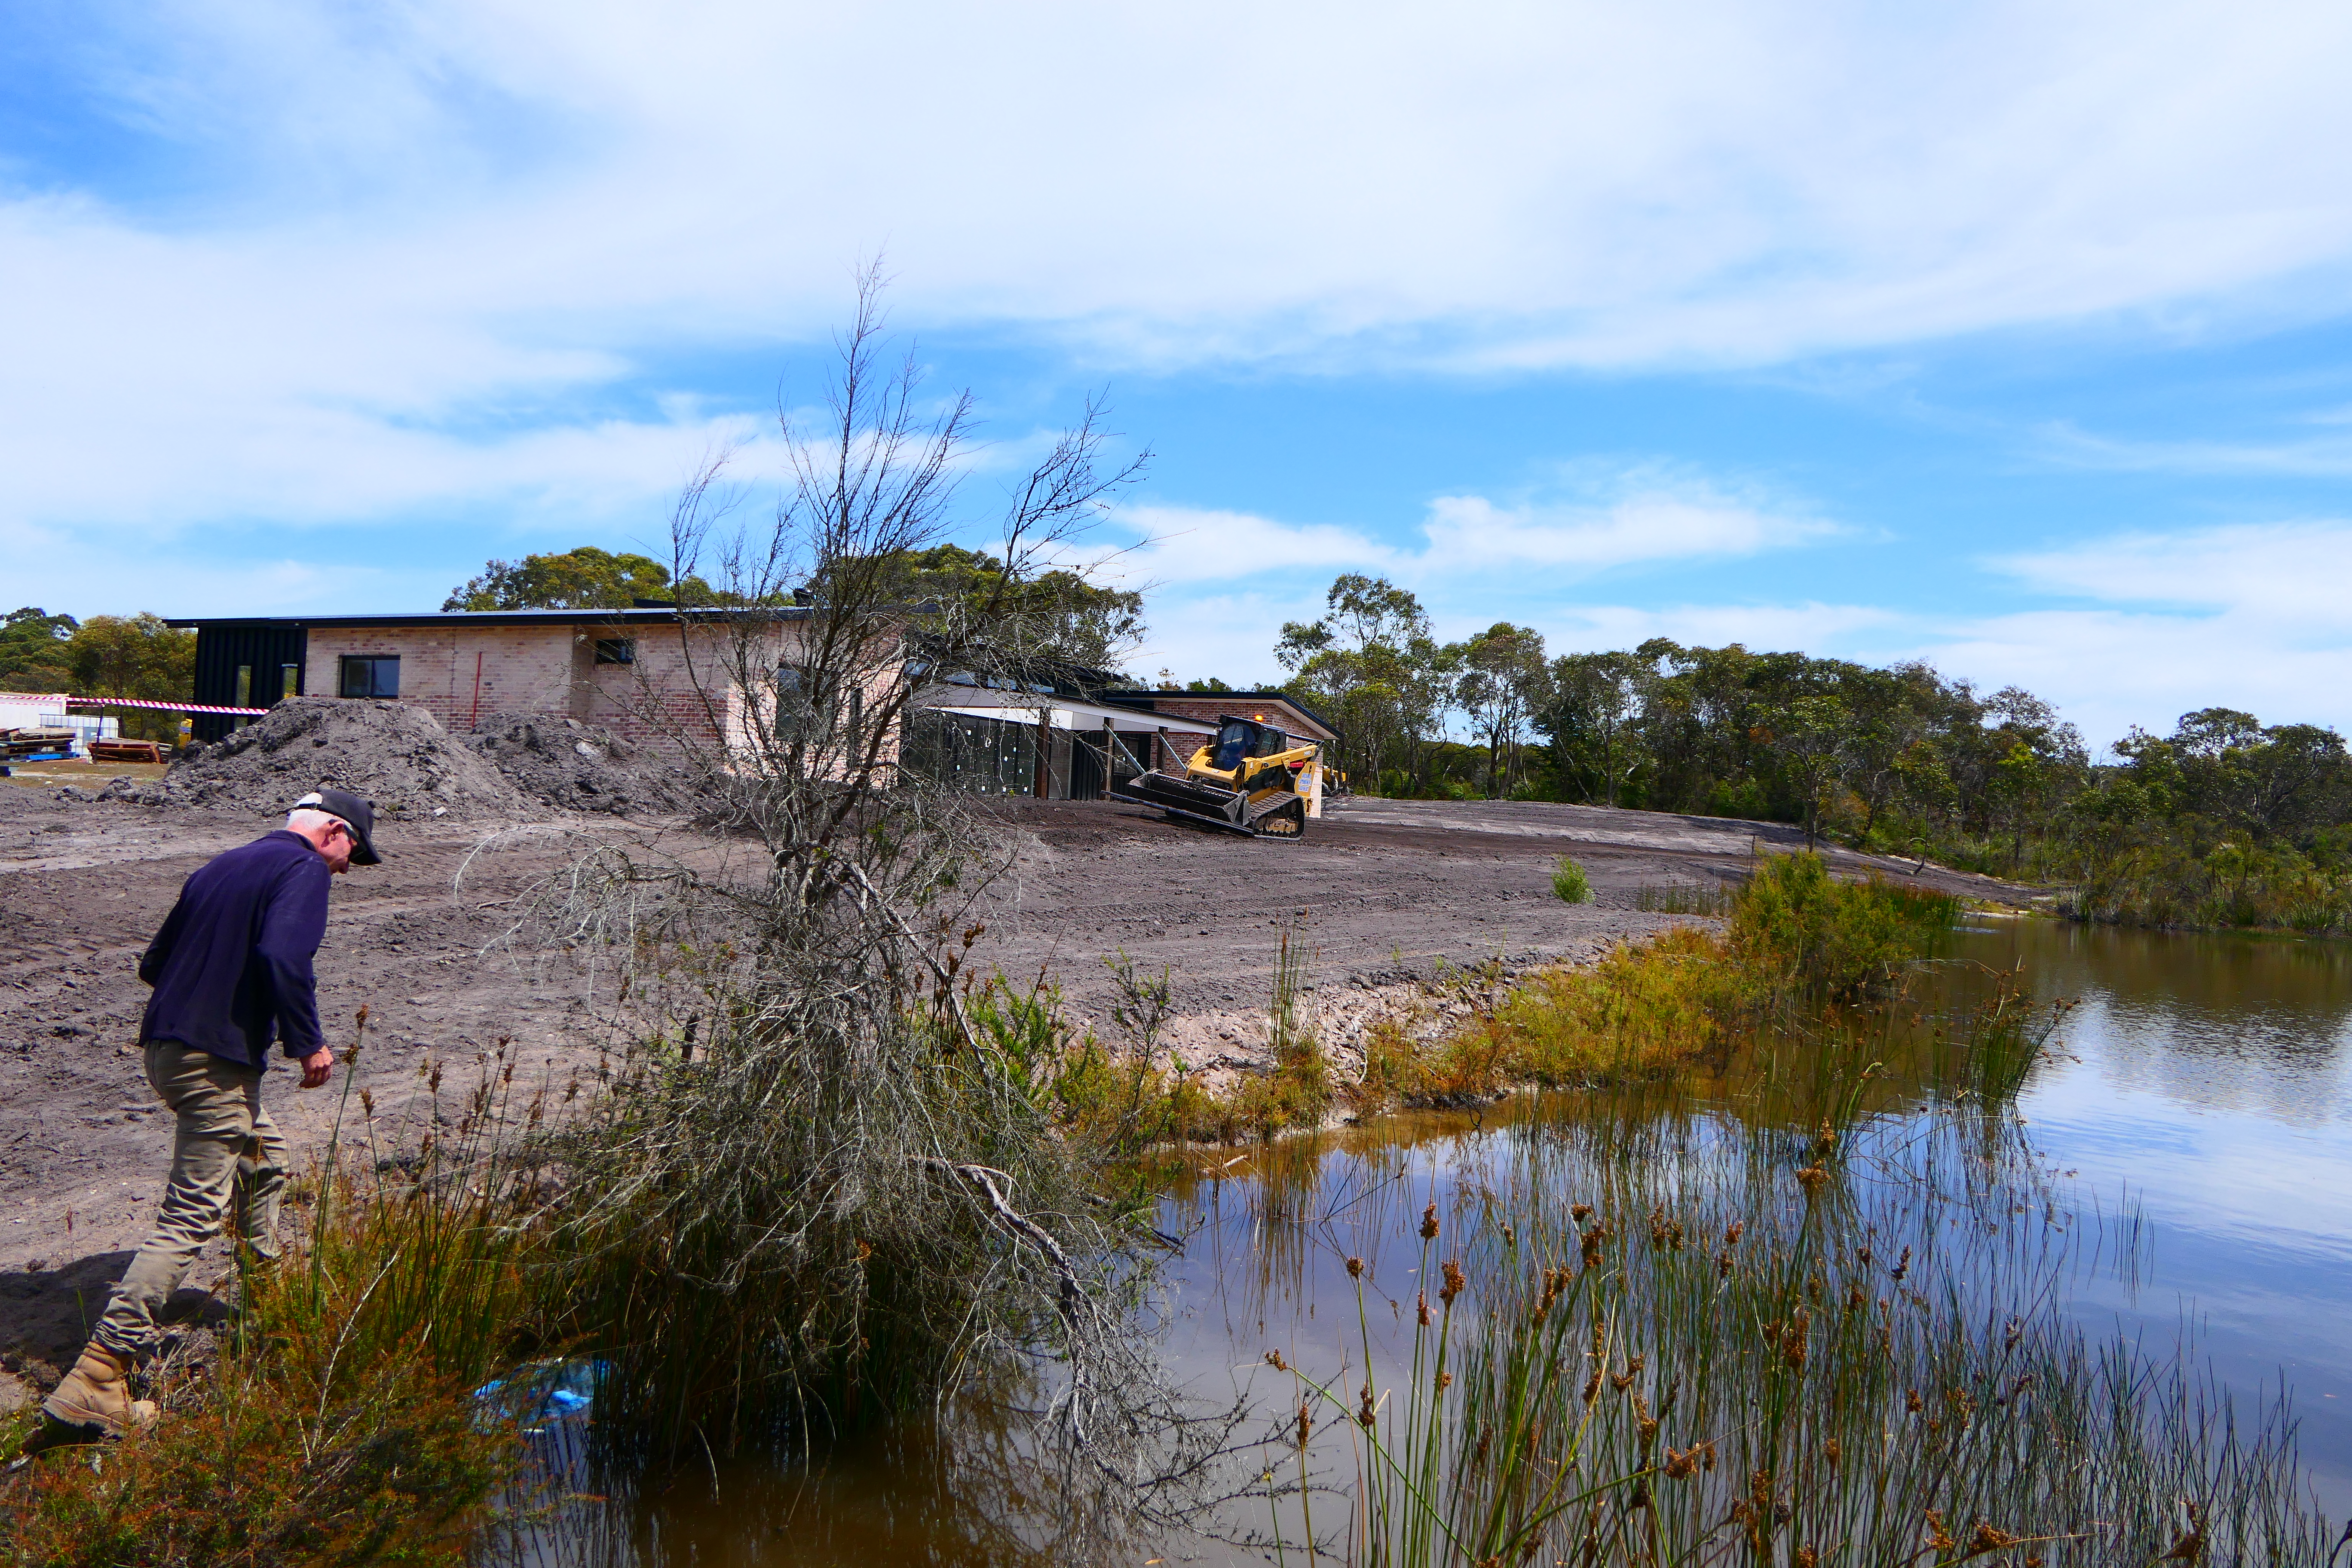
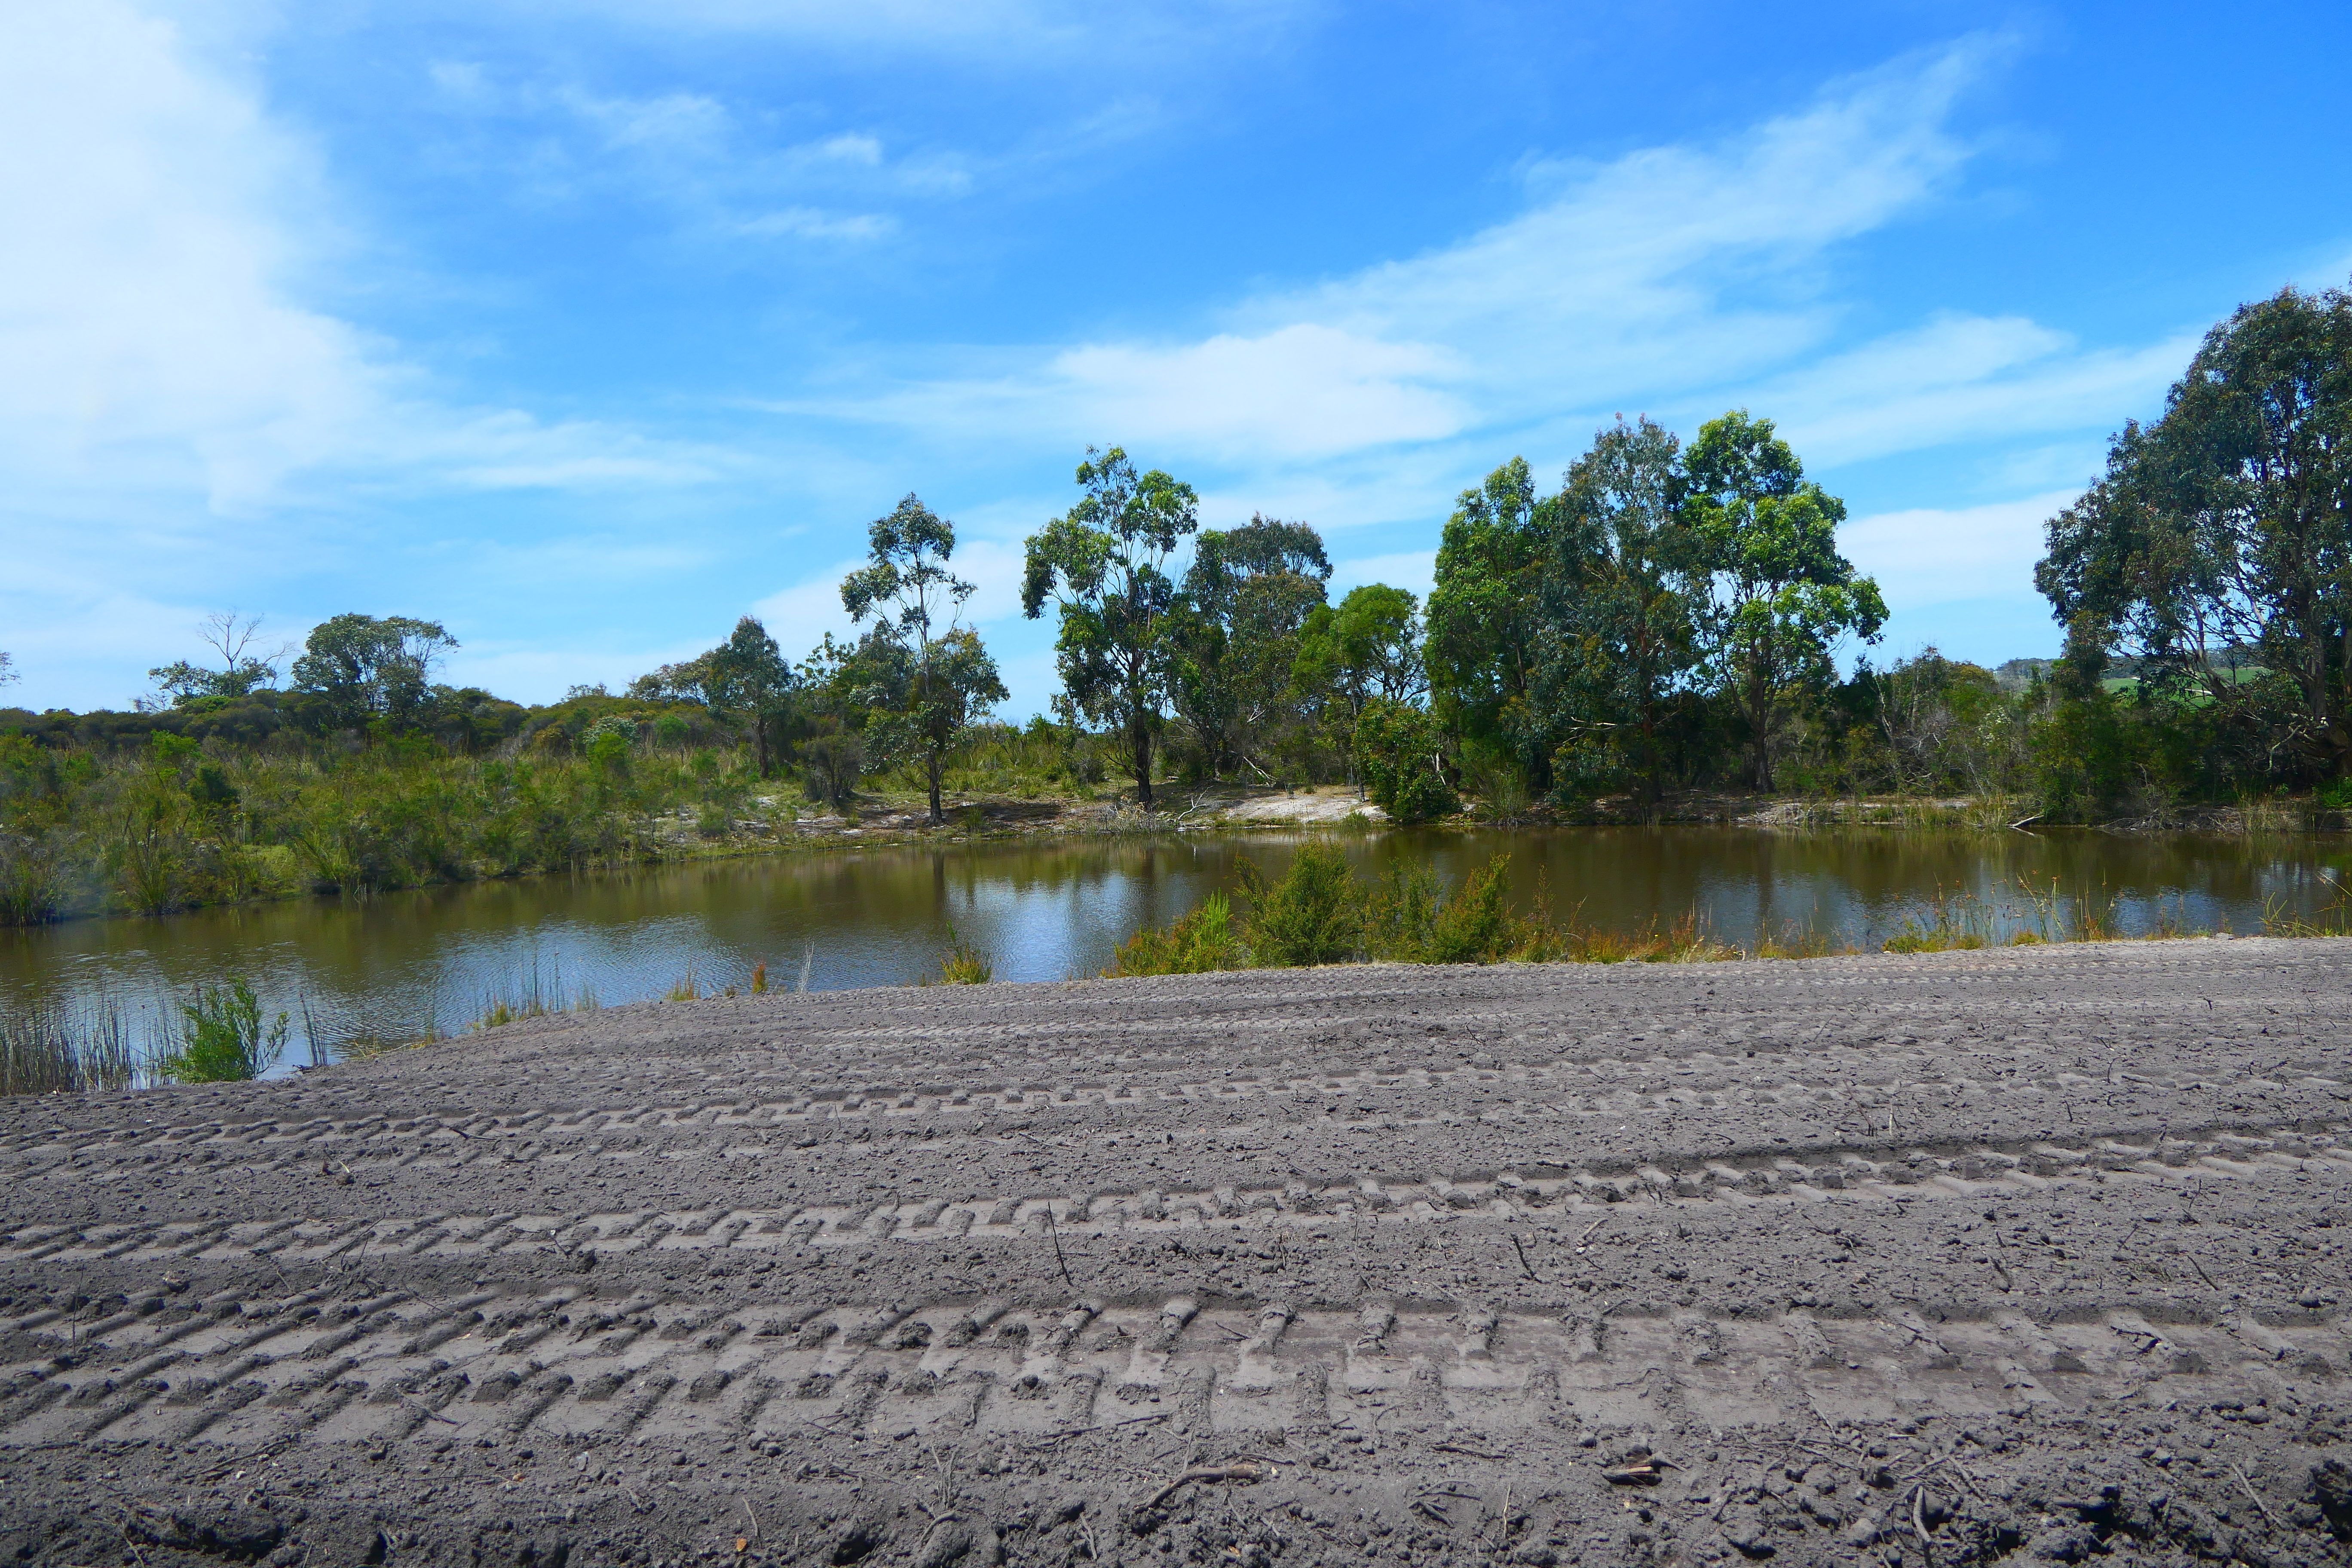
With the builders taking a three week break over Christmas, and most of the outside building materials gone, we (and the builders) tidied the site and managed to get the earth works contractors in. The defendable leveled and drainage sorted, piles of topside spread over the ground, and the removed roots/bits of trees cleared to create the defendable space neatly stacked. Concrete waste and rubble stacked in a neat pile for removal. Piles of top soil stacked near the house for the builders to backfill up to the house when they finish all their external trenching and concrete laying (they were trying to get the last of it done before Xmas, but didn’t make it).
The defendable space looks so big now!
The driveway is almost compliant

The driveway potholes are filled in, and the passing lanes(!) are mostly built. We needed to get the passing lanes done for occupancy to meet the planning requirements – every 200m we have to have a 6m wide road to allow for CFA truck access and passing. (And had to pay offsets to remove the bush to accommodate them). Not finished, because the quarry closed over Xmas/New Year so we couldn’t get any more gravel. Hopefully will be done before the builders come back.
We do need a bit of rain to consolidate the fine gravel – the first time it gets wet, it turns into soup, but when it dries it’s as hard as concrete, and rain doesn’t affect it again. So, of course after a year of rain, the forecast says no rain coming before the builders get back. If we don’t get any, we’ll painfully lug water and spray the road so its good to go and doesn’t get ruined by using it when wet for the first time – we just need about 10mm rain and then a day or so fine hot weather.
The road won’t be pretty, but it will be serviceable, and meet planning requirements. We had hoped to use our own first grade white gravel (the driveway was originally built out of it 20 years ago – shining white gravel, beautiful – the bush was buffer land around a gravel pit originally), but they didn’t find anything while doing the earth works, so we’ve had to buy in second grade gravel from the local quarry. Depending on finances, and how it stands up to still high traffic from the builders, we might resurface it next summer.
The Secret Garden is built
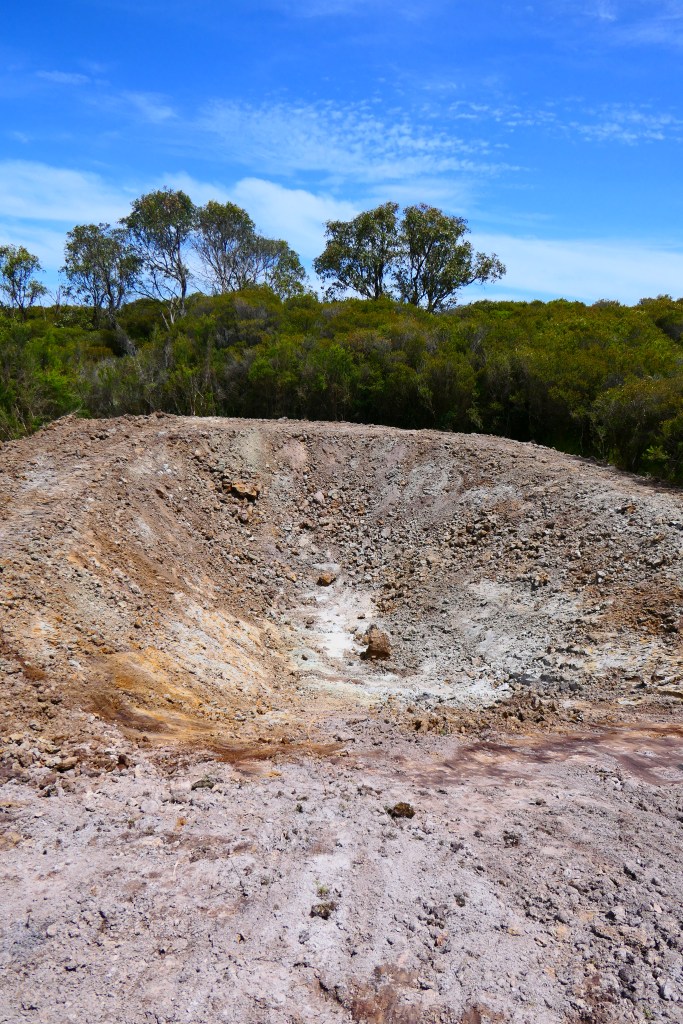
Just behind the defendable space we had an area of land where the bush had been removed and top soil scrapped off to look for gravel. With a very thin layer of exposed gravel, nothing had grown there in the 30 odd years since it was done. So we decided to keep the area around the house “natural” and put our vegie garden in the clearing created by the gravelling. It’s a bit far from the dam near the house to run water to (around 150m) and we don’t want to take too much water from the house dam because one end is quite shallow, and doesn’t look good when the water level drops, as it does in drought.
So we’ve built a small dam and used the dug up clay and gravel to level out the vegetable area. We’ve had the excess soil etc from the defendable space area dumped on the rest of the exposed gravel so that we can finally regenerate it. The dam is actually making water – probably not good – I wonder in a drought when the water table drops, the dam will drain. Oh well, hopefully some bentonite will fix it, if it does drain. It was such a small area to build a dam without clearing anything that there wasn’t a lot more that could be done to make sure it sealed.
Not sure of the legality, but we can demonstrate that we have not removed vegetation, and that we are regenerating a damaged area.
So now we have to build a small solar system to run a pump from the new dam. And build a green house, raised garden beds and a fence to keep the animals out. It’s going to keep us busy! We got left over building materials to build the garden beds. Bonus!
The gates are automated
With most of the large deliveries done, we decided it was time to improve security and install the gate automation. We bought a system from Automotion Plus in Melbourne. Key pad operation for builder/friends and family access as well as remotes for us. A long range remote so we can open the gate from the house. Autoclosing but with a “party” function so that we can leave the gates open with the click of the button. An automatic lock. Safety beam to stop the gates closing if someone stops in them. Solar powered of course.
We had a few issues with set up – the control box supplied didn’t have enough cable entries for the equipment supplied (we bought a kit so it should have!) so we had to drill two extra entries and add waterproof glands.
Originally, we tried to get the gates to “gently” stop on gate closing, but when we did this, the gates could be pushed open. A very helpful conversation with Automotion resolved this – drive the gates into the driveway stop, don’t be gentle.
There was a bit of a glitch with the key pad pins, but they’re working fine – until one key pad fell out after a few days and cracked. Still working, but looks a bit ugly – likely our fault for not attaching the clip in key pad well enough.
Safety beam works well.
So despite these minor annoyances, and a lot of work to install it, we were happy with the majority of the system. The instructions and diagrams were clear (except for mounting the arms on the gate posts – we had to relocate them further out) and easy to follow.
But, a couple of things have let it down. We were told that the long range remote did not need line of sight, and would go 800m with an aerial. Wrong – it does need line of sight and in our installation only goes around 100m. Useless. To be honest, I’d have been a bit surprised if it had worked – but was told on two separate occasions that it would, so I bought it. When I rang them to discuss, they suggested buying a mobile operated add on – we hadn’t bought this in the first place because we didn’t want to pay for a sim card and monthly fees. I asked if they would discount it because we’d already bought the long range aerial and remote based on their advice (politely and not annoyed because I’d have been pleasantly surprised if it had worked – and we probably wouldn’t have bought the mobile option even if they had heavily discounted it), they literally stopped talking. Tech support won’t answer or return my phone calls about my other issue. What the…?
One of the reasons I selected them was because they were helpful on the phone. Yeah, so that didn’t work out.
We also have a problem with the lock. It just has a weird piece of metal for the latch – designed to be somehow fixed to the ground without any bolt holes etc. The lock also turned up with the protective rubber casing around the wire broken away from the lock, so its not weather proof, and their own site recommends this type of lock not be used with a double swing gate. But we bought it in a kit for a double swing gate – why did they sell it as part of a kit for this type of gate?
Rang the sales line, since tech support wouldn’t respond, and got sent a picture of the right lock, but when I queried if it would work on a 24V system (website said 12V lock) and could I swap it, (and pay the extra since it’s more expensive than the kit offering), NO RESPONSE. Now sales isn’t talking to me either! I think we can rig up a latch system that will work OK, just another little problem to sort out. And we can seal up the protective sheathing, although it won’t be as reliable a weather seal…..
Looks like at the first sign of any issue Automotion Plus literally shut up shop. I’d hate to have a big problem.
Anyway, the other reason we bought from them was because they were relatively local – we’re going to their show room in Melbourne as soon as they reopen after New Year break.
Until they stopped talking, I would have recommended the system, despite the problems, now not.
This is such a long post, that not even friends or family will get to the bottom of it – let me know if you do! But I wanted to document our journey….
